Prerequisites
Before you begin, ensure:
You have an active Twilio account
You have created a WhatsApp Bot Automation in sysConnector
You have access to your Twilio Account SID, Auth Token, and WhatsApp Business Number
Step 1: Open sysConnector
Navigate to https://app.sysconnector.com/
Log in to your sysConnector account.
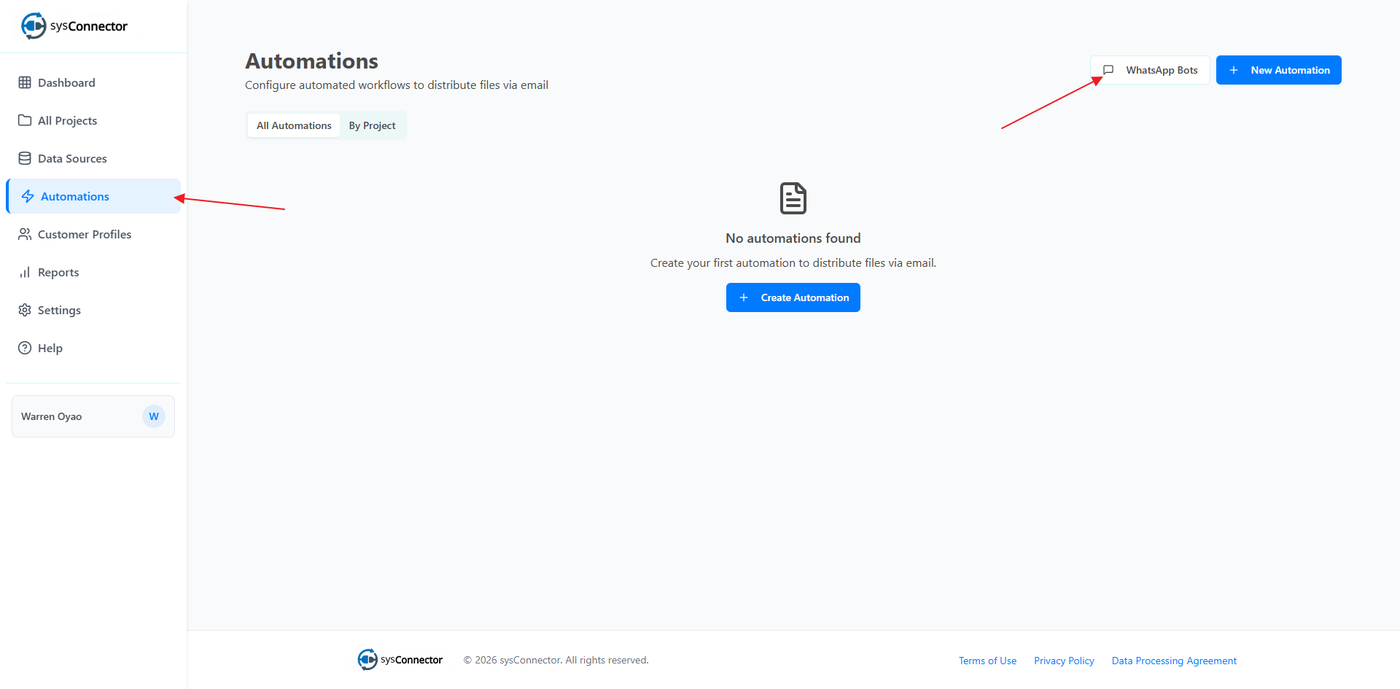
Step 2: Create a WhatsApp Bot Automation
Go to the Automation tab in sysConnector
Click WhatsApp Bot → Create WhatsApp Bot
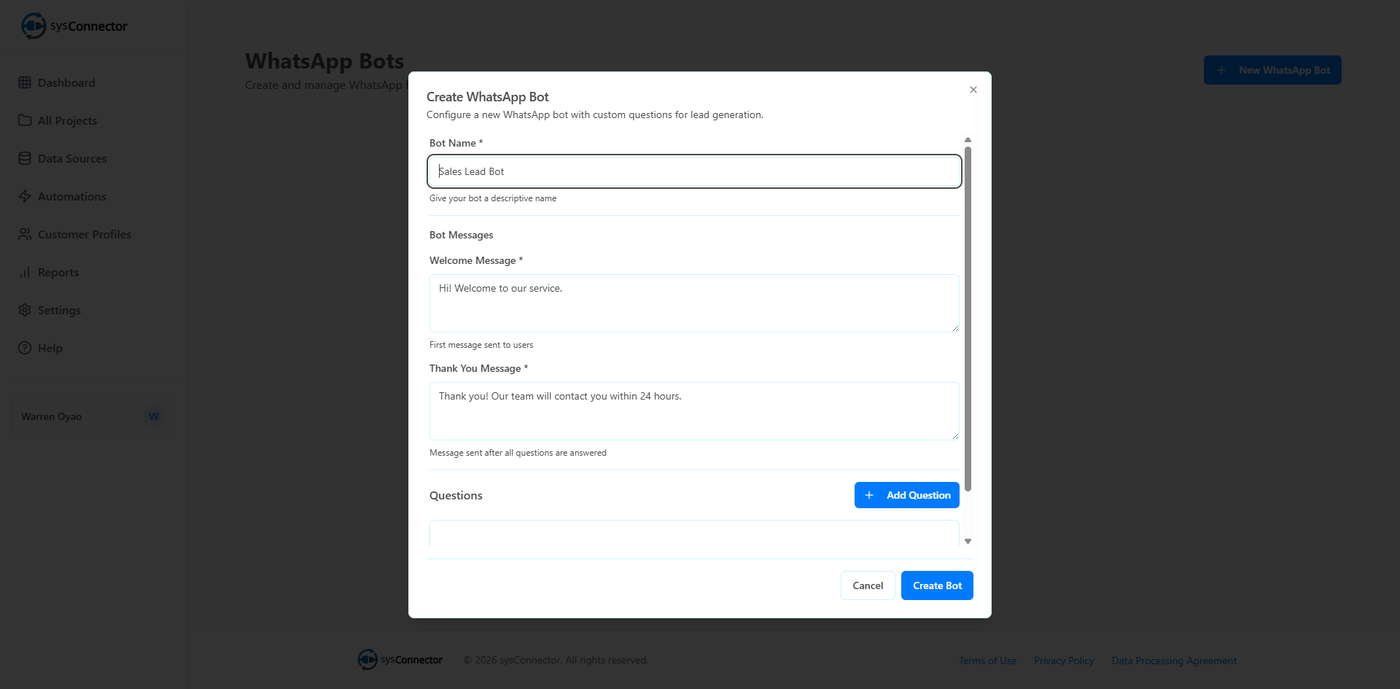
Fill in the bot details:
Bot Name
Welcome Message
Thank You Message
Add your questions:
Question Text
Field Name (use lowercase and underscores only)
Field Type (e.g., text, number, email)
Required (Yes/No)
Add as many questions as needed
Click Create to finish the bot automation
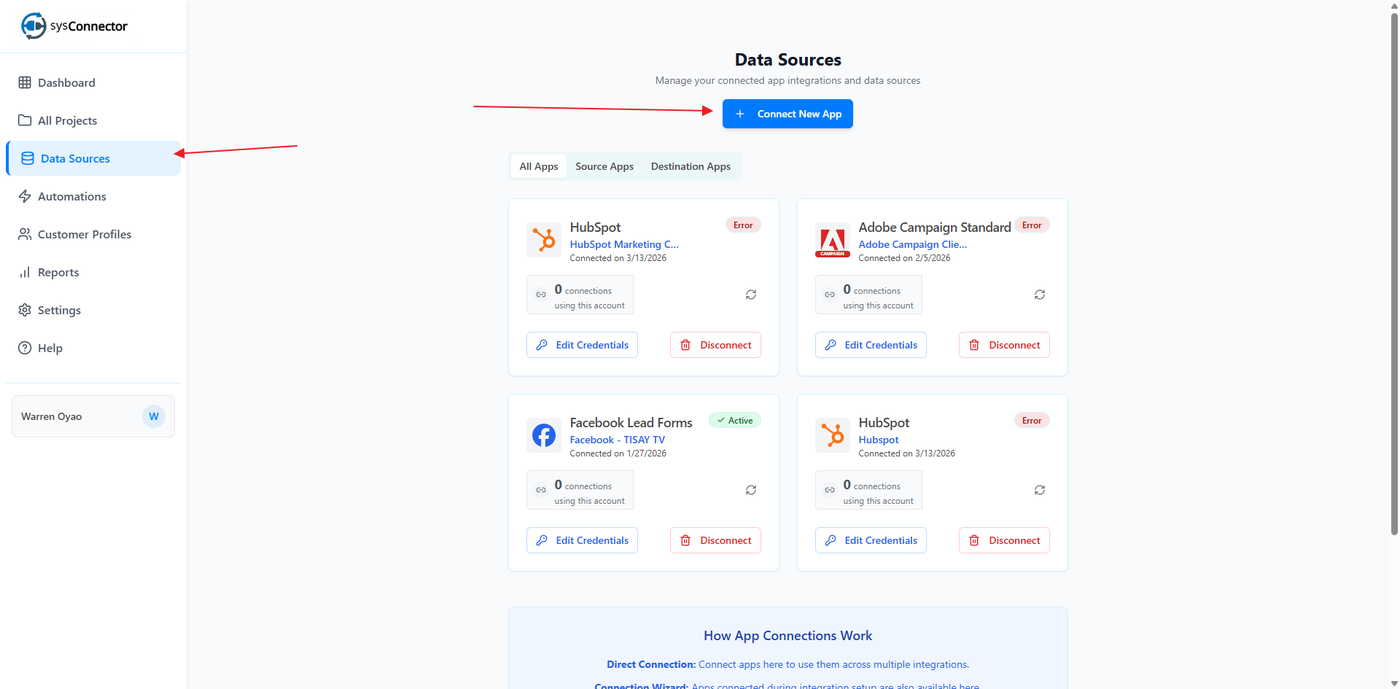
Step 3: Open Data Sources
Click Data Sources from the left-hand menu.
Click Connect New App.
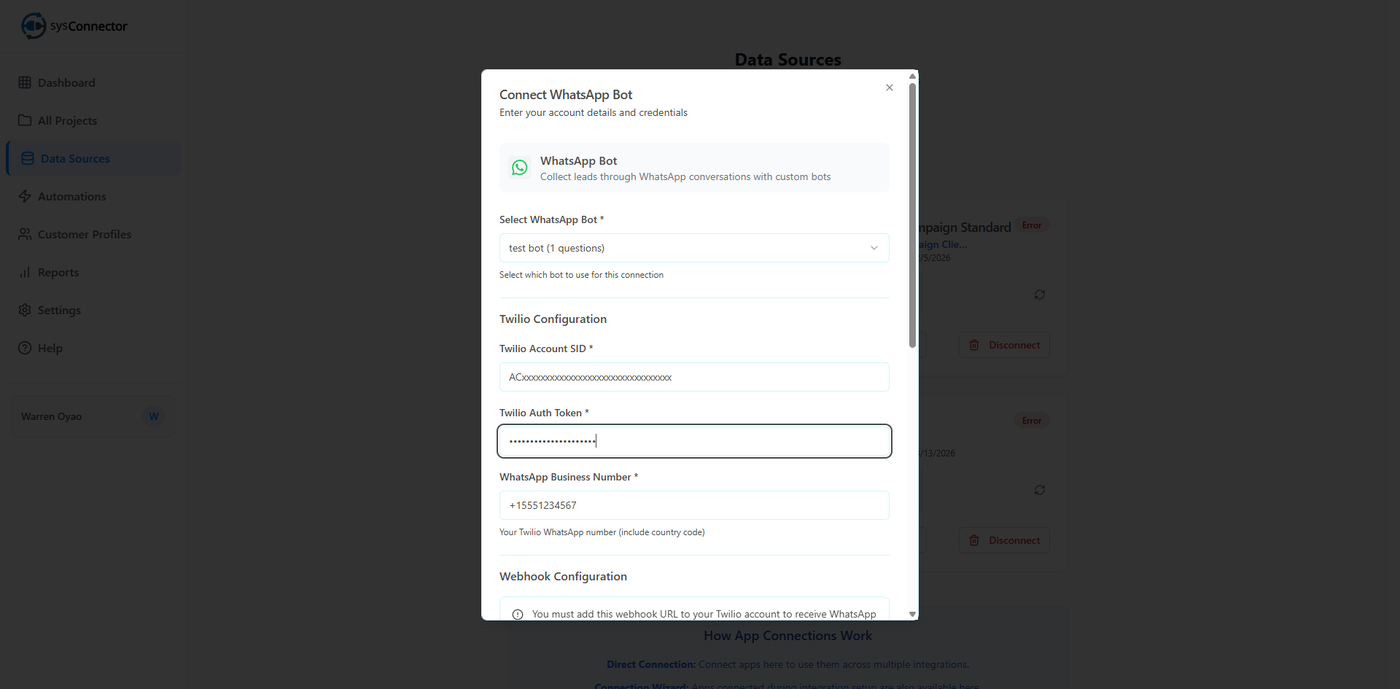
Step 4: Select WhatsApp Bot
From the list of available integrations, select WhatsApp Bot.
From the dropdown, choose the bot automation you just created.

Step 5: Enter Twilio Configuration
You will need to provide:
Twilio Account SID
Twilio Auth Token
WhatsApp Business Number
Webhook URL
Webhook Setup Instructions:
Log in to your Twilio Console
Navigate to Messaging → Settings → WhatsApp Sandbox (or your WhatsApp Sender)
Find the "When a message comes in" field
Paste your Webhook URL
Set HTTP Method to POST
Click Save
Check the box “I have added this webhook URL to my Twilio account”
Step 6: Account Naming
Give this account a name so it’s easy to identify later in your connected accounts.
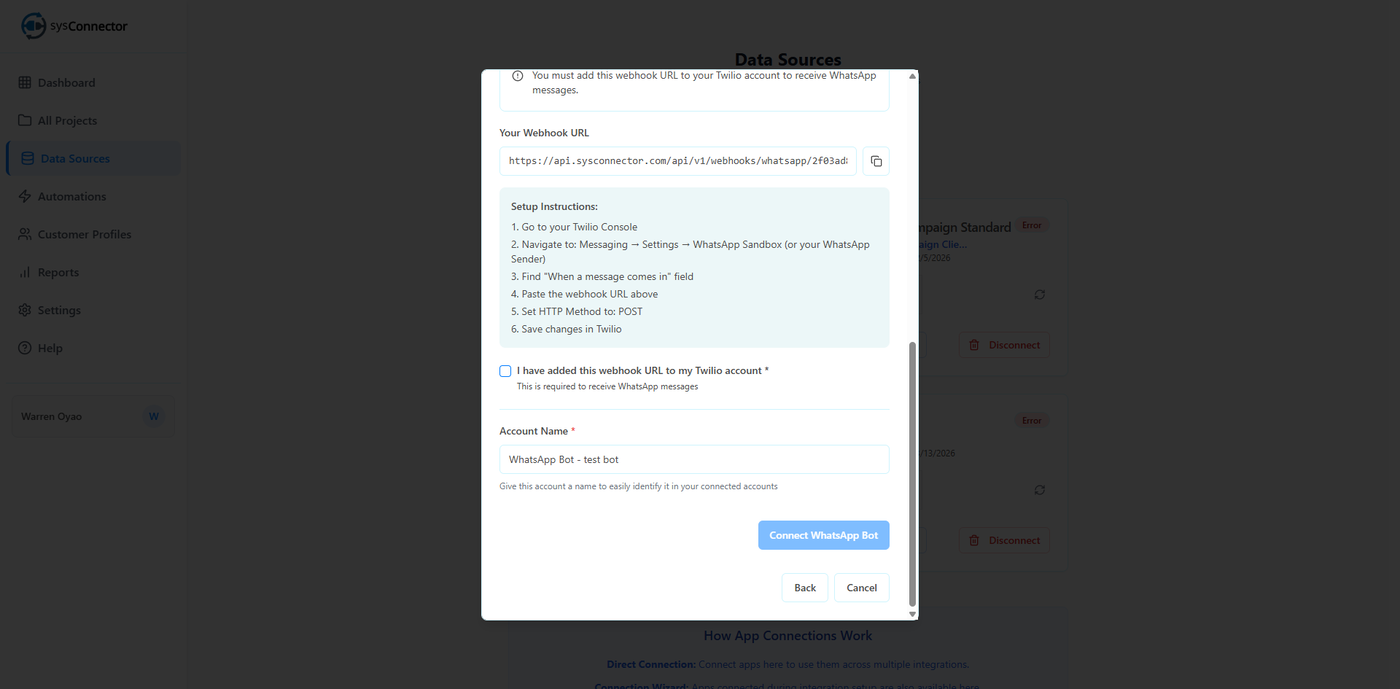
Step 7: Connect WhatsApp Bot
Click Connect WhatsApp Bot
You will see a success message:
App Connected – Your WhatsApp Bot has been connected successfully
Your WhatsApp Bot integration is now active, and responses from users will begin syncing automatically.
You’re All Set!
sysConnector is now connected to your WhatsApp Bot, and responses from users will begin syncing automatically.