Prerequisites
Before you begin, ensure:
You are logged into Facebook
You have Admin access to the Facebook Page and its Lead Forms
Step 1: Open sysConnector
Navigate to https://app.sysconnector.com/
Log in to your sysConnector account.
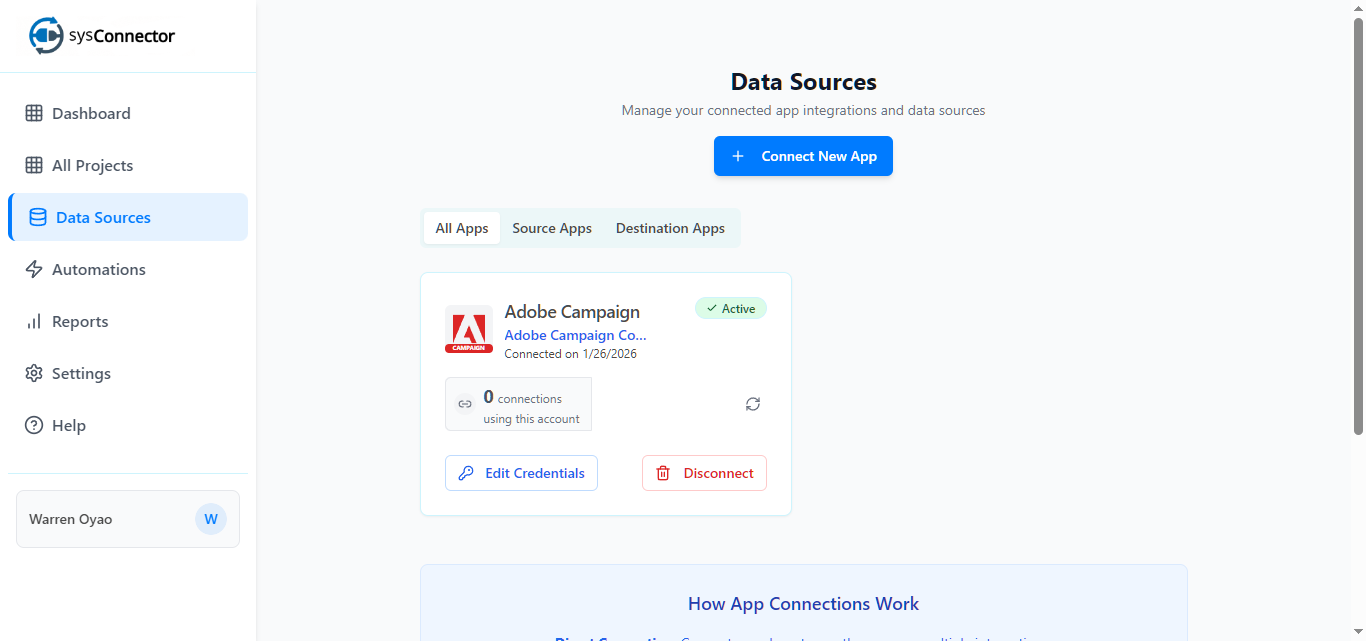
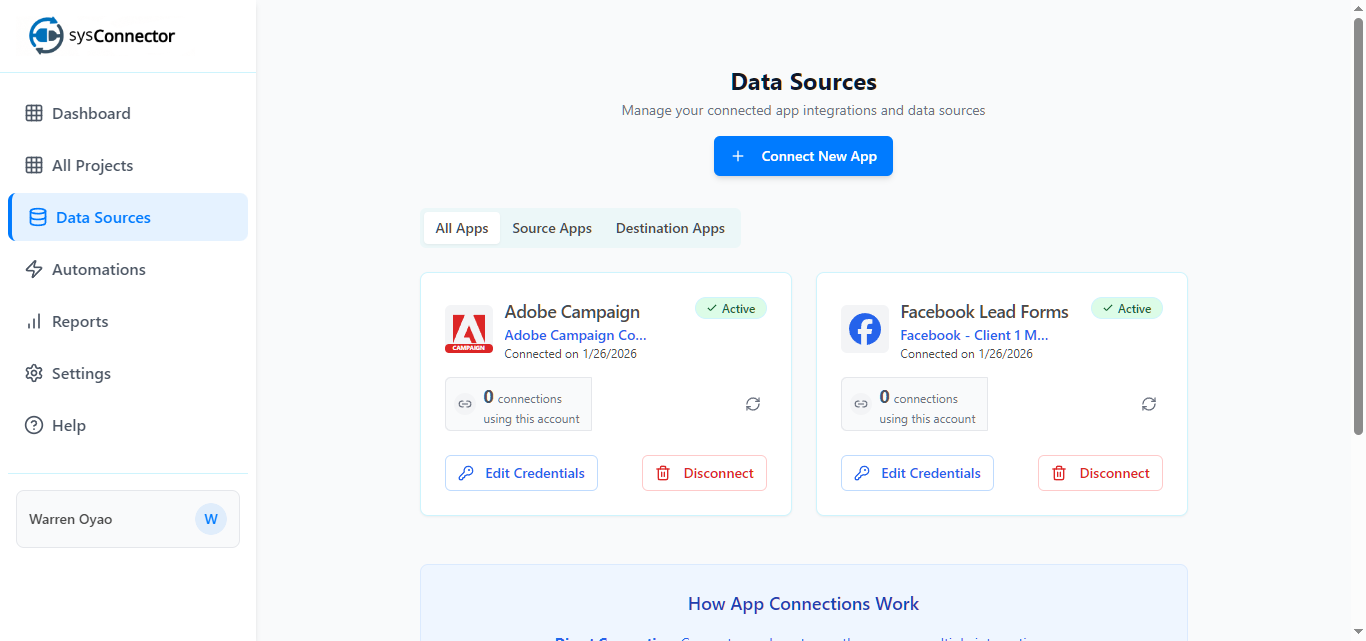
Step 2: Open Data Sources
Click Data Sources from the left-hand menu.
Click Connect New App.
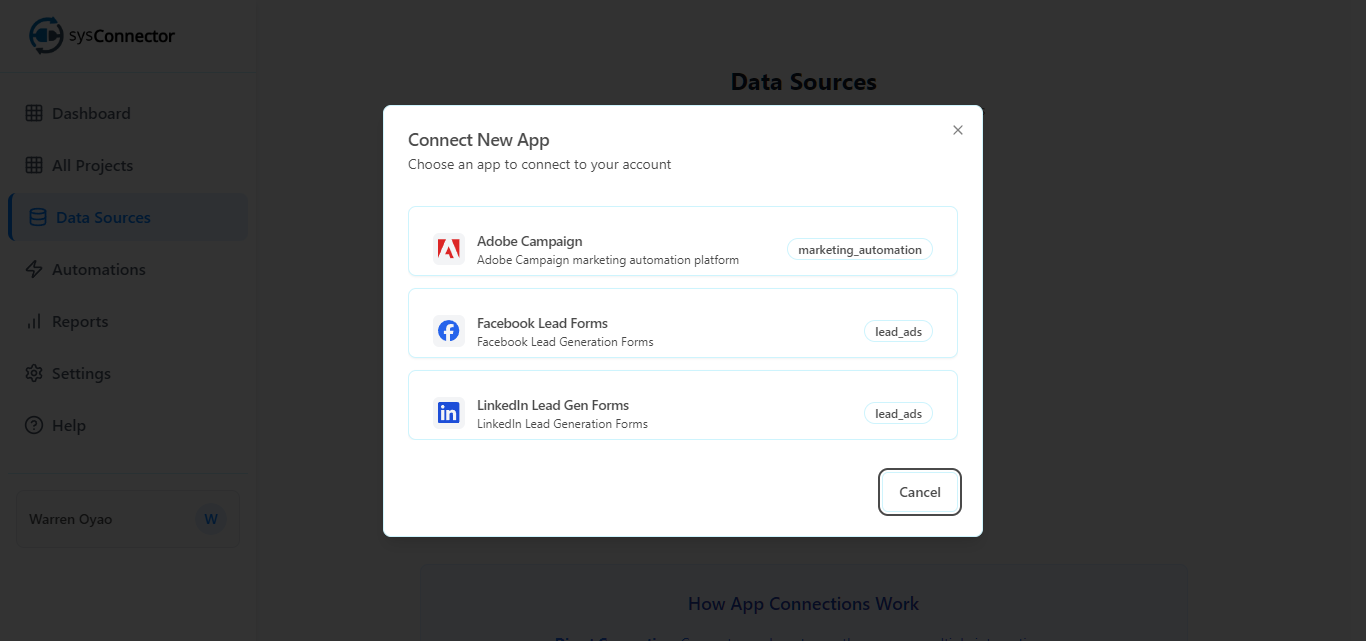
Step 3: Select Facebook Lead Generation Forms
From the list of available integrations, select Facebook Lead Generation Forms.
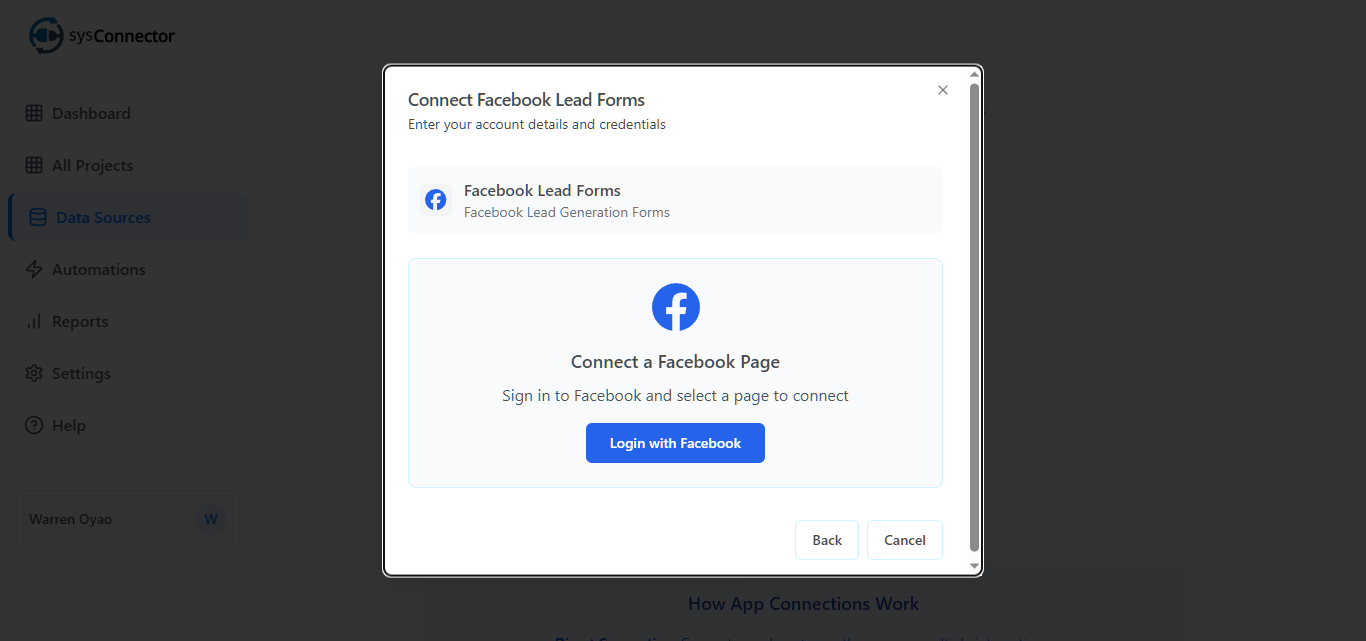
Step 4: Log in to Facebook
Click Login with Facebook.
In the Facebook popup window:
Log in using the Facebook account with Admin access to the page.
Review the permissions and click Continue or Allow.
Note:
The Submit or Reconnect buttons are only required if you are reconnecting an existing integration.
Step 5: Choose and Connect a Facebook Page
Click Choose a page to connect.
Select the Facebook Page you want to connect (e.g., Client 1 Marketing).
Click Connect [Page Name] (e.g., Client 1 Marketing).
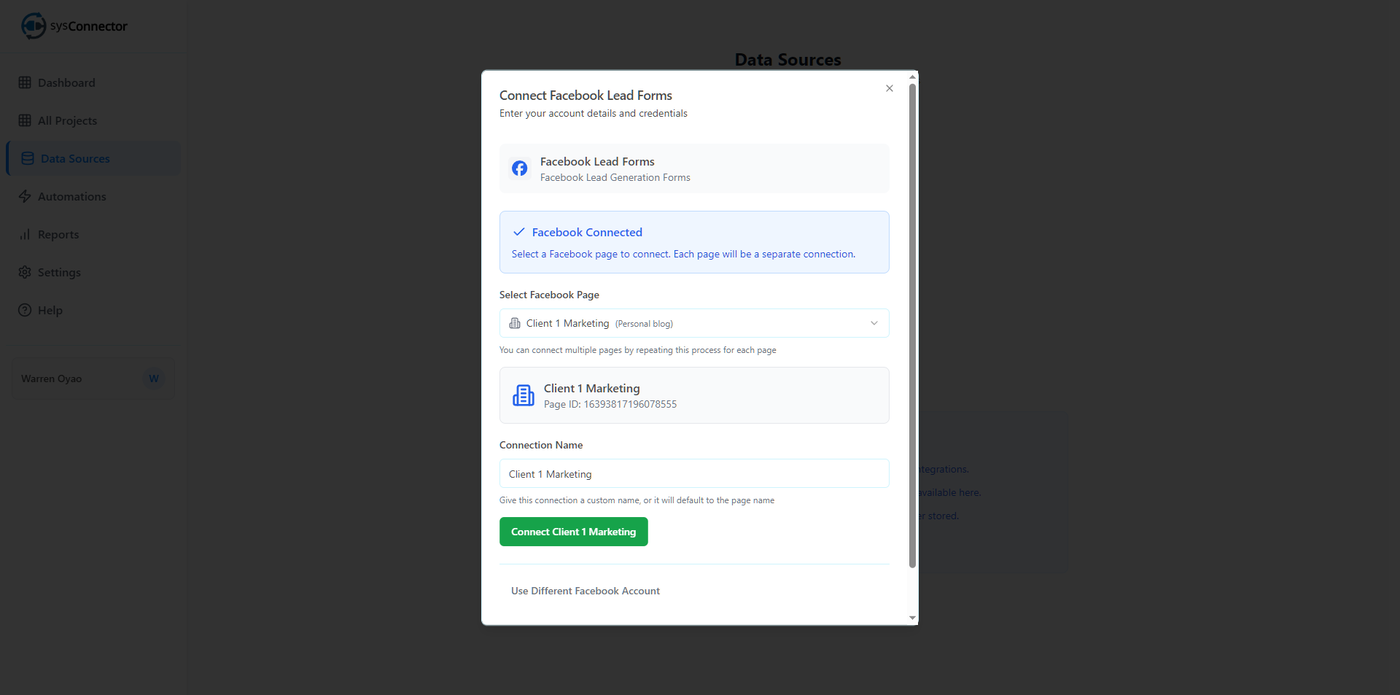
Account Naming
Account Name is mandatory.
It is highly recommended to use the Facebook Page name (e.g., Client 1 Marketing) so the connection is easy to identify later.
You may assign a custom connection name at this stage.
If left blank, sysConnector will default to the Facebook Page name.
Step 6: Confirm Connection
You will see a success message:
App Connected – Your app has been connected successfully
Your Facebook Lead Generation Forms integration is now active.
You’re All Set!
sysConnector is now connected to your Facebook Lead Generation Forms, and leads will begin syncing automatically based on the selected form.